Recent Posts

Monday, March 30, 2015

Moss Sanctuary For Frozen Charlotte in The Fall Issue Of Jewelry Affaire

Moss Sanctuary For Frozen Charlotte in The Fall Issue Of Jewelry Affaire


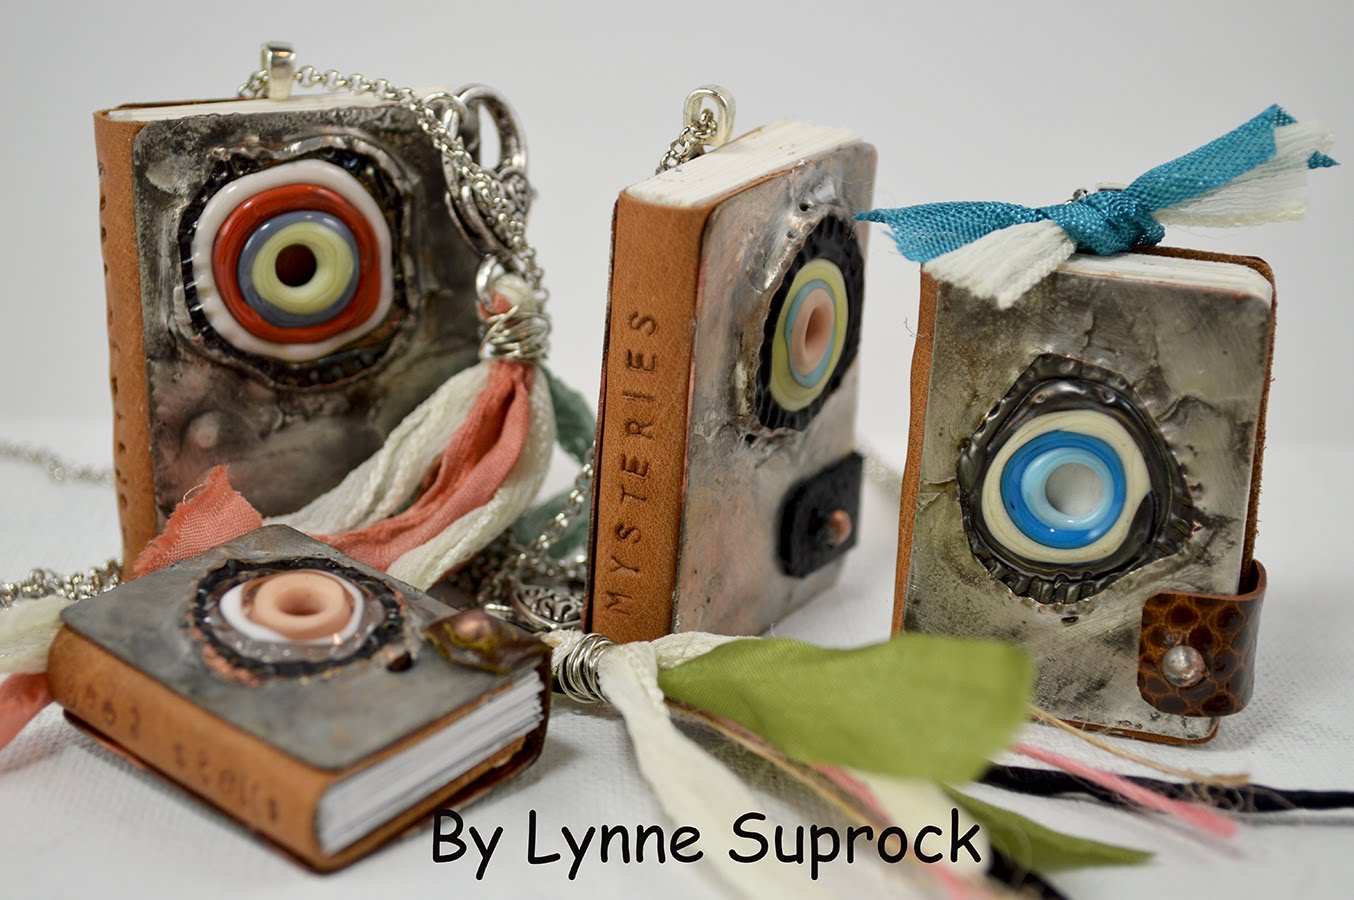
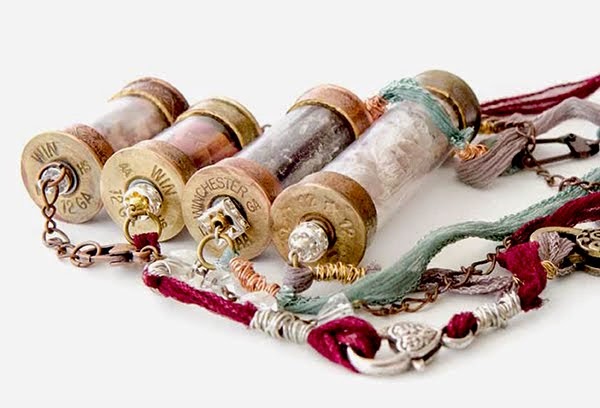
I just loved making these little reliquaries for my porcelain dolls.  I even got a little gutsy and made wings for the little Charlottes that were really broken.  Somehow that seemed to make them special.


 These little pieces remind me of another sculpted iconic woman from the novel Midnight In The Garden Of Good And Evil.  A few years ago, I had visited the cemetery where this bird girl stood.  I was enthralled and her vision remains with me, so I guess this is a little tribute to her....


My recollection of her image is in several pieces that I made for this fall issue of 
Jewelry Affaire Magazine.
They are on little necklaces with coordinating slumped glass beads. 

There is even a pouch for each of them for sleeping!  OK, that was worth a giggle....

Friday, March 6, 2015

Making a Plaster Cameo Using Amazing Casting Products

Making a Plaster Cameo Using 


Today I would like to share a fun tutorial using Amazing Mold Putty to create Cameo wall hangings out of Plaster of Paris.  It is my tutorial this month as a member of 2015 The Amazing Casting Products Design Team.

You will need:
  1. An item you would like to mold for a wall hanging.  I selected vintage plaques that I found at a flea market.  
  2. A non stick craft mat
  3. Amazing Mold Putty
  4. Amazing Mold Release Spray
  5. Plaster of Paris
  6. Water
  7. Wooden stir stick
  8. Large container for mixing plaster
  9. 20 gauge wire, 2" per plaque
  10. Round nose pliers to bend wire
  11. Matte gel medium
  12. Paint brush for gel application
My plaques have quite a bit of chipped, peeling paint going on. This will add to the distressed look that I am after when the mold putty conforms to the chipped texture of the pieces.


Amazing Mold Putty comes in Part A and Part B.  Mix equal amounts of each into one ball of uniform color.  Work quickly because the Amazing Mold Putty will begin to set after several minutes.  To keep mold putty from sticking to jewelry or finger nails, you can wear gloves.  However, the Amazing Mold Putty is non toxic.


Next press the Amazing Mold Putty onto the front of the piece that you wish to mold.  Make sure you cover the complete piece.


Let the piece set up, then demold to show the cameo mold.  Lay the piece, mold side up on a flat surface and mix up a little more of the Amazing Mold Putty.  This time ,shape the putty into a long noodle piece to completely surround your item.  Attach the noodle to the existing edge of the Amazing Mold Putty on the front of your plaque.  Let set.


Apply a light coat of Amazing Mold Release to the demolded piece.


Mix the Plaster of Paris with water according to the directions on your box.  Directions may vary by manufacturer.  Stir with a wooden stick.  Work quickly because the plaster will become warm and start to thicken in a few minutes.  Pour the plaster into the mold, filling to the edge of the mold putty. 


Bend the wire with pliers and position into the back of the poured plaster.  Let your project sit over night, and if your mold is thick, two nights in a warm, dry room.  The drying process is hastened if there is air movement over the piece, such as with a fan on low.


If you do not let the piece completely dry, it will break apart when you demold it..... which is just what happened with this one!  Uh oh! Oh no!


This one dried for two days.  Once taken out of the Amazing Mold Putty, coat with acrylic gel medium.  Let dry.  Your piece is ready to hang!


I love the white bisque look of plaster.  However, you could also paint your piece with assorted acrylic paints or add highlights with a metallic paste.  Enjoy experimenting with Amazing Casting Products, such as Amazing Mold Putty in your mixed media projects!