Recent Posts

Monday, November 3, 2014

Milk Glass And Mercury Glass FAUX Bud Vases Using Amazing Casting Resin!

Milk Glass And Mercury Glass Bud Vases:
A Faux Effect Using Amazing Casting Resin


 I am sharing another one of my Amazing Crafting Products tutorials here on  the blog.  This tutorial can also be seen on the www.amazingmoldputty.blogspot.com site along with tutorials from all the other wonderfully creative design team members.  

Whether you are a flower gatherer or a floral arranger, you will love trying out this little project! 

So... lots of my friends know that I love flowers and love setting little vases around the house holding bits of garden greenery or fresh clipped flower buds. I have one favorite crystal vase that I thought would make the a perfect piece to use in an Amazing Mold Rubber and Amazing Casting Resin experiment. I wanted to create milk glass and mercury glass look-a-like vases, and I was quite pleased with the final results.


 Fabulous Faux Milk Glass side-by-side with Faux Mercury Glass

Find a container tall enough to cover your vase to be a mold box (I used a yogurt container). Add a little hot glue, and position the vase in the bottom.


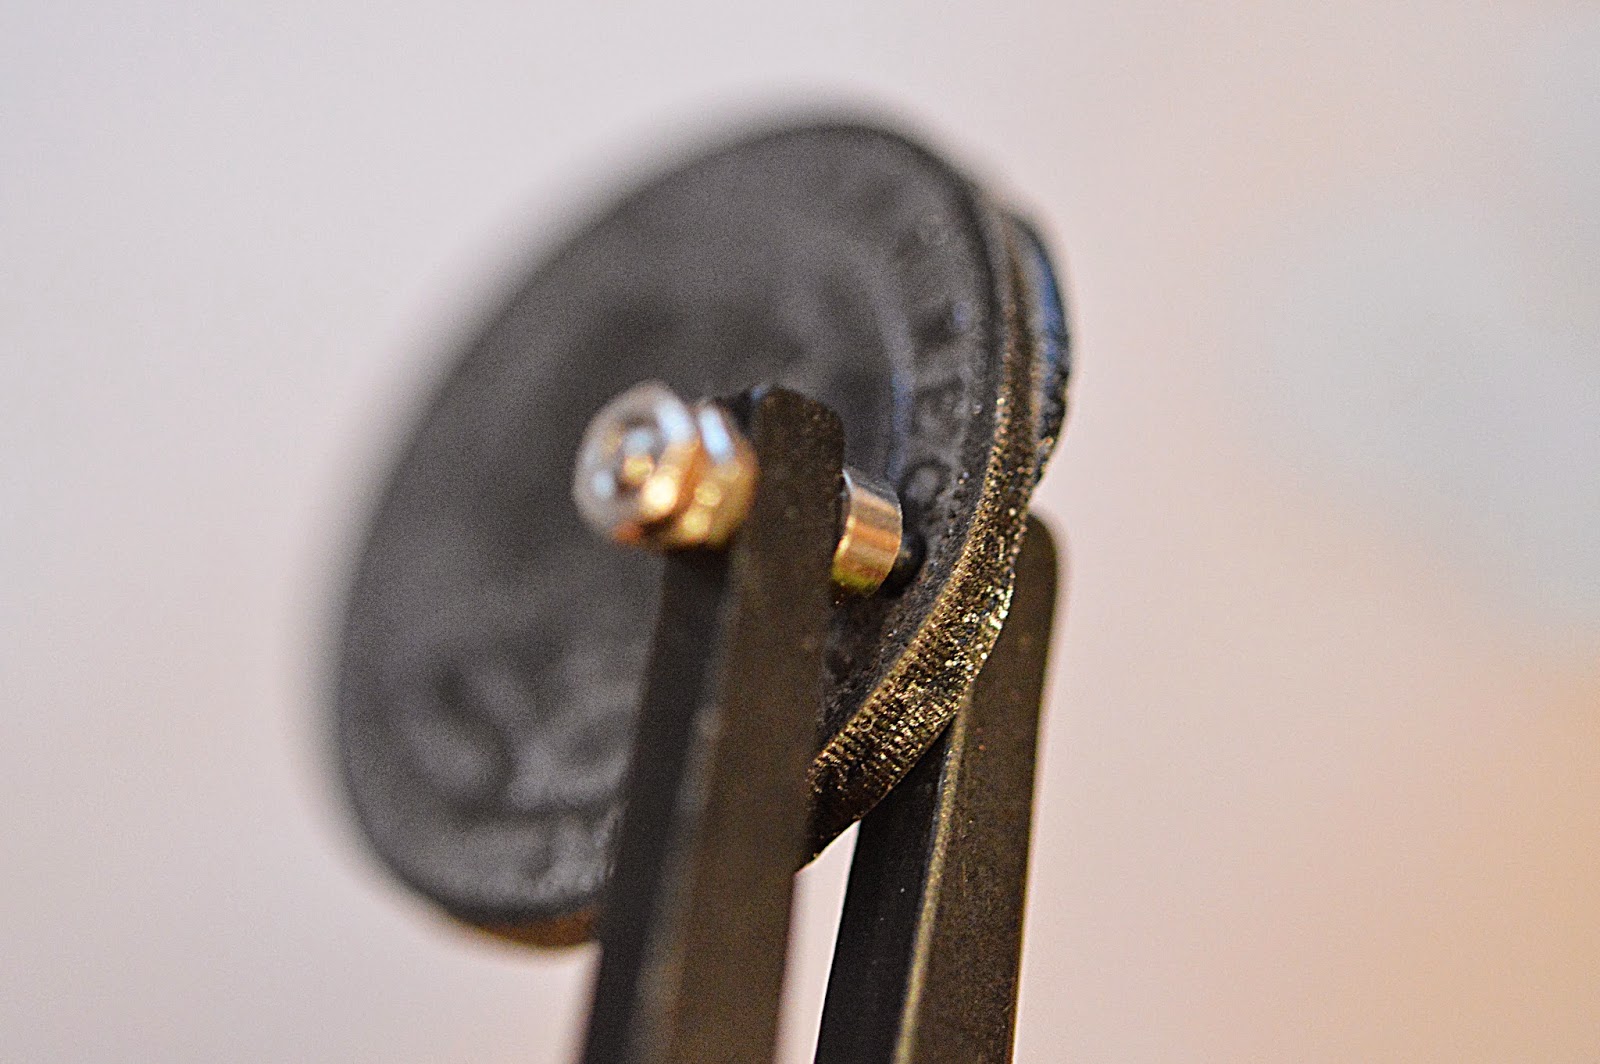
My original crystal mounted inside container.


If you have old leftover pieces Amazing Mold Rubber from past projects, cut it up and throw into the container – which reduces the amount of mold rubber that you will have to mix for the project.


Mix the Amazing Mold Rubber (see video instructions by clicking HERE) and pour it into the mold box containing the vase.


Once cured, remove the glass by making a clean cut
down the side of the Amazing Mold Rubber mold.


Secure the empty mold with rubber bands and also secure the bottom of the mold to a large piece of packing tape. This will keep any Amazing Casting Resin from leaking out the side or bottom until it cures.


Prepare and pour an inch of Amazing Casting Resin into the vase mold so that it fills the bottom (see video instructions by clicking HERE). Quickly position a length of 5/8” diameter of vinyl tubing into the center of the vase mold, and partially down into the Amazing Casting Resin which was just poured.


 Hold the tube into position for about 5 minutes, or until
the Amazing Casting Resin changes to an opaque white.


Now mix and pour additional Amazing Casting Resin to fill up the remainder of the space in the mold so that it is level with the top of the vinyl tubing. Let cure.


Remove the packing tape as shown from bottom. 


Remove the packing tape and the rubber bands and demold the white vase.


File down any rough edges with a metal file. 


Fill this milk glass look-a-like with water and add some flowers.


If you would like to create a mirrored, or mercury glass finish, spray the vase with a chrome paint. Be sure to do this in an area that is well ventilated, then let dry. 


Fill with water and flowers. Cool!

What would you create a fabulous faux

Please share what you make with Amazing Crafting Products
on the website in the User Gallery.


Get The Hot Wax Dipped Look On Wine Cork Necklaces With Amazing Casting Resin


Hot Wax Dipped Wine Cork Necklaces
Using Amazing Casting Resin


The Little Charlotte, as shown, was made by adding
ACP casting resin and colorant  to an ACP mold putty mold of an original doll

This month, as a member of The Amazing Crafting Products Team,  I have a video for this month's tutorial that will show you how to recycle a few wine corks into gorgeous necklaces. This project will feature, of course, Amazing Crafting Products.  I will use the Amazing casting resin, and some Amazing Crafting Product colorant.

But first a little history about the inspiration for these necklaces...

I have many wonderful and talented art friends in the field.... This summer, I did a fun little class demonstrating sea glass drilling, and I was surprised and blessed with some, geez-o-wiz beautiful gifts, from these extra special art sister's in NH!   

One of my gifts was a wine cork necklace that I absolutely love!  So, I decided to try my hand at decorating my own.  My twist was to incorporated some Amazing Crafting Product.

Enjoy the video!


Sunday, October 19, 2014

Art~Is~You Retreat, Stamford 2014, Bringing Together Best Friends Forever


Art Is You Retreat 2014
Stamford, CT
Bring Together Best Friends Forever...

For the past few years, I have been so excited to attend, teach and vend at a most beloved art retreat in New England.  Year after year I have been both amazed and humbled at the magical things that happen there.  

I have experienced wonderful students, fabulous teachers, and made the best friends in Stamford, each and every year.  I have witnessed a million hugs, a few tears, lots of giving, and contagious laughter.  From morning till night, stuff happens.....lots and lots and lots of stuff.....that makes us all grow as artists, gives us strength, and makes each and every one of us very, very happy to attend.

My Sacred Journal Of Reflections Workshop

My Twinkly Love Affaire With Words Workshop

This year, I had taught two classes, taken two classes, and vended.  I was there for five days, but it was over in a blink.  Already missing my art sisters and brothers and cannot wait to meet them once again next year.

Here is a blip of my photo highlights.  You can see lots more on the Art Is You Retreat on Facebook 


AIY Photo Snippets 
From The Heart


Thursday, October 16, 2014

Simply Pretty Stuff Coin Cuffs Using Amazing Crafting Products

Coin Cuffs Using Amazing Crafting Products

Here is an inspirational share (and a few quick "how-to's"), using Amazing Mold Putty, Amazing Casting Resin, Alumilite Dyes and Metallic Powders, my drill and punch! 

I enjoy making bracelets and prefer the recycled belt types. For this project, I used an old canvas belt, come snaps, coins of various sizes, and Amazing Crafting Products.


I molded the coins, then brushed Bronze (and I did a few with Gun Metal) Alumilite Metallic Powder, on the inside and filled with Amazing Casting Resin colored with Alumilite Black Dye.

The Amazing Casting Resin is really so very easy to either drill or punch and make holes for either jump rings or thread. Just be sure to first create a divot with a hammer and metal punch. Then make your holes. I used a 1.8mm sized hole punch and a 1/16" drill bit and a Dremel.


Punch a divot.


Use a drill. 


Use a mechanical punch.

After making the holes, I used some thread to attach each piece to the bracelet. 


Easy Peasy!
What items would you mold/cast
to adorn your custom jewelry?

Please share what you make with Amazing Crafting Products
on our website in the User Gallery.


Don't miss a single post!

Twitter at @AmazingCrafting | Facebook at AmazingMoldPutty | YouTube aAmazingMoldPutty

Saturday, October 4, 2014

An Art Notebook Plate Using Amazing Crafting Products And A Stencil

An Art Notebook Plate Using Amazing Crafting Products And A Stencil

by Lynne Suprock


I am soon off to teach at a beloved art retreat this fall in Stamford, CT.  There is always much to pack and prepare for any of the "on the road" venues.  It behooves one to begin weeks ahead as to not fall into a "tizzy."  Well, good for me, I am a ducks in a row type art girl.  I will make the lists and check once, twice, and three times! And with time left over, will also come up with a few last minute project or surprises.


This year besides the necessary instructional materials and kits, part of my packing will include a few beloved art trades and other fun things, such as this awesome art notebook. Let me share a quick tutorial on how to make one of your own.   :-)


I will be using Amazing Mold Putty, Amazing Casting Resin (fast setting kind), and Alumilite Fluorescent "FLO" Green and Yellow Dyes from Amazing Crafting Products.


Please enjoy this video tutorial... An Art Notebook Plate

using Amazing Crafting Products and a Stencil.


Trouble viewing the video???

Please CLICK HERE to jump and view on YouTube.


The book will be perfect for jotting down product info and people connecting info while at the Art Is You Retreat. I hope to see you there next week in Stamford, CT.


How would embellish your notebooks

using Amazing Crafting Products?


I look would love if you would leave a comment below to let us know how this technique works for you! Please share what you make with Amazing Crafting Products on our website in the User Gallery.

CLICK HERE to view my upcoming workshop schedule where you can join me in person.


. . . . . . . . . . . . . . . .

Friday, September 26, 2014

Three Stamps Made With Amazing Mold Rubber

by Lynne Suprock

I am loving being a part of
the Amazing Crafting Products Creative Design Team,  getting to
play with all these wonderful products, then show you  what I design. 
Today I want to share with you how to make your own rubber
stamps so that you may use them in your collage work, jewelry work, tag
designs, or anything else you can think of. 
We will make these stamps three different ways… so let’s get started.
When working with my Amazing Mold Rubber, I usually like to have a
few projects together at one time, or work on one big project.  That is just my preference, but you can
measure out the two part product and complete at intervals if you’d like.  


For this tutorial, I personally set up all three projects before mixing and pouring my Amazing Mold Rubber.  However, the tutorials, as written, will also guide you through each project as a stand alone.

STAMP ONE

Things you will need:
    Steel die letters, small
    Hammer
    Block of wood, soft pine
    Popsicle sticks, 4
    Elmers glue
    Alumilite Mold Release 
    small brush

    Using the steel die letters, hammer them into the wood.  Write a name, a phrase or a story.


    Build a wall around the stamped letters with popsicle sticks
    and attach with elmer's glue.  Make sure
    you dab the glue into each corner and in the cracks where the popsicle sticks
    meet the wood.
    Let dry.


    Paint letter depressions and wood surface with Alumilite Mold Release
    Mix the two part Amazing Mold Rubber.  Click HERE to see a video tutorial for how to do mix it.
    When you are ready, pour the Amazing Mold Rubber into the mold and let dry.

    Peel away the rubber and using the ink of your choice, stamp!


    STAMP TWO

    Things you will need:
      Embossing plate with a design for pasta maker or Cricut
      machine
      Alumilite Mold Release and small brush
      Duct tape

      Paint the inside of either top or bottom of the embossing
      Surround all four sides of the plate with duct tape and
      press to secure, leaving an wall about ½” high.


      Mix the two part Amazing Mold Rubber.  Click HERE to see a video tutorial for how to do mix it.
      When you are ready, pour the Amazing Mold Rubber, let set and unmold.


      Use your favorite ink and stamp!

        STAMP THREE

        Materials you will need:
          A clear candy mold with a pattern (I used a brick wall pattern)

          Paint the candy mold with mold release.


          Mix the two part Amazing Mold Rubber.  Click HERE to see a video tutorial for how to do mix it.

          When you are ready, pour the Amazing Mold Rubber and let set.

            Unmold and stamp using your favorite ink!


            I have had so much creative fun doing these stamp making projects, and hope that you will give it a try, or experiment a little too!