Recent Posts

Tuesday, October 13, 2015

Cargo Vessel Necklace Featured In Belle Armoire Jewelry Magazine

Whimsical Cargo Necklace To Be Featured In The Fall 2014 Belle Armoire Jewelry Magazine


The Expression "woot" just doesn't do it here!  I think these look so very fabulous, and I am so, so lucky to have the team at Stampington think so too.   

These necklaces were sooooo much fun to make.  They are made from recycled materials and I know everyone will be surprised to find out exactly what I used.

Preorder your Fall 2014 issue of Belle Armoire Jewelry today at  www.stampington.com


Friday, May 29, 2015


How To Preserve Wedding Memories On A Vintage Jewelry Box Using


Two generations ago she blushed and said "I Do" to the man of her dreams.  Barely a woman herself, she became a most loved and cherished mother, having 4 children, each the apple of her eye. This was my gramma Rose.

I loved hearing the stories about my Rose's life.  Her determination, love of family, savvy, and in later years, her strength and constitution, utterly amazed me.  Yes, I love the stories because I was such a little girl when she died.  I never really knew her, so I cherish and preserve what I do know and have learned about her.

Fast forward to this vintage picture.  It is Rose's wedding day.  I decided to incorporate it into my ACP project.  Every time I put a piece of jewelry in, or take one out, I will see her picture and it will make me smile.


Here are the steps for making the picture:
1.  Select a favorite vintage picture and size or crop to fit niche in wood.
2.  Make a laser printer, toner, transparency
3.  Decorative trim cut, if desired.  ( Mine is straight edged)

Here are the steps for the box:
1.  Reclaim an old wooden jewelry box with some type of depression or mirror. (Apologies for not getting a "before" picture)
2.  Remove the mirror carefully ( if still in place)
2.  Clean wood with soapy water.
3.  Slightly sand wood
4.  Use Annie Sloan chalk paint in choice of color.  My color is French Linen. (I use the Annie Sloan brand because coverage is better than other paints and it adheres without priming)
5.  Once this solid coat of paint is dry, choose another color of paint thinned with water, to create a wash.  (I used 3 parts water to 1 part paint in Old Violet)


6. Quickly brush on and pat dry with cheesecloth.
7.  When dry, use a bit of clear Elmer's glue to the back edges of the picture transparency.
8.  Smooth picture onto wood
9.  Outline the picture in the clear glue to seal any cracks around the inner edge of the wood, where resin could seep out.


10. Allow 24 hours to dry
11. Mix equal parts of A and B of the Amazing Transparent Casting  Resin.
12. Pour the resin carefully over the picture in the niche.


13. Allow to dry for 24 hours.
14. Adding decorative knobs is optional.


I liked how this yard sale box was the perfect stage for these vintage photos of my grandmother.  With a little chalk paint and Amazing Casting Resin, a memory is preserved.

Thursday, May 14, 2015

 Creative Rocks And Gems You Can Make Out Of 

By Lynne Suprock


Lynne Suprock here and I am so excited to share a little inspiration with you once again!  This one comes from a long standing love of rocks and geodes.  


When our son was small, my husband and I began a collection of rocks and minerals that we found around the yard, at the beach, or after an excursion to the gem and mineral show in our local area.  We named and displayed our finds,  but as time passed, moves happened and our child grew up.  The rocks were packed away. 

 Every once in awhile though, I Would find myself at the beach, or at an art show ... Collecting once again.  However, now The prize evolved into a few sparkly Druzy stones, which I adore. :-)
After having opportunity to experiment with Amazing Crafting Products, it donned on me to replicate the shapes of some of these stones with Amazing Mold Putty and recreate my own colors and shimmer with the ever truly amazing casting resin!  A bit of glitter or Alumidust in the mold, and voila ...Semi precious stones and Druzies take form!


I used the Dremel to make the holes for findings and attached some of the stones to pieces of copper.  

I am Excited and pleased to share these project how-to's in both this  2015 Spring issue of 


So go ahead, create your own gems and rock inspired jewels, using a little imagination and some Amazing Crafting Products.

Blooming Colors On Glass Make Amazing Flower Vases

Blooming Colors On Glass Make Amazing Flower Vases


Hello sunshines! I am anticipating dozens of brightly colored zinnia blooms from my garden this summer.  My seed packets have been waiting all winter to be planted, and it’s almost time.   Before the flower cutting begins, I decided to make a few special vases in which to soon put them.

I began by choosing three awesome Alumilite Amazing Casting Product Colorants, one for each of three vases.  I mixed the Amazing Casting Resin with those colorants and Alumilite Pearlescent Powder for a little shimmer.  Then I poured and swirled each of the color mixtures into little jars.  The results were quite AMAZING, of course!  Watch this quick little tutorial.  

Click Here


Wednesday, May 13, 2015

Faux Gems and Stones!!

Stone Infused Gems and Jewelry

Come to the foothills of the Appalacian Mountains to Ligonier, PA.
I will be teaching an all new Stone Infusion Jewelry workshop in this most special and serene place.  

There are so many fine boutiques and places to get a bit to eat there.  It is a beautiful place to visit, indeed!  A wonderful Saturday Market happens where local farmers bring their produce, jams and honey, bakers show off gluten free morsels, and local artists sell their beautiful, beautiful pieces.

Join me, won't you for three hours of gem building techniques...


Stone Infused Gems and Jewelry Workshop
When:  Saturday, August 9, 2014
Where:  Allegory Gallery
Time:  1 PM to 4 PM
Cost: $55.00 and $5.00 kit fee for supplies

Contact shop proprietor, Andrew Thornton, to register or for more information about this event:

Friday, May 1, 2015

An Amazing Faux Black Opal

Several years ago my father in law took a trip to Australia and brought me back a brilliant raw black opal. I fell in love with the way the colors danced across the black in the supporting stone. It is my favorite piece, and now, gold wrapped, it is a pendant that I love to wear. 

When I was introduced to the Amazing Crafting Products, I also fell in love with the way you could create pieces by casting color in layers. The Amazing Clear Cast Resin can produce either a matte or glossy finish in the end, depending on the type of mold that it was cast into. The richness of the black resin makes the colors pop and sparkle, reminding me of raw black opal.


Here are the instructions for making your own.

You can either create your own mold using Amazing Mold Putty, or choose to use one that you may have on hand. The mold I used for this pendant is one of the Plaid Mod Podge Mod Molds.


Rinse the mold with clear water, cleaning dust
or any debris that may be inside. Dry completely.


Mix equal parts of the Amazing Clear Cast Resin according to instructions, stirring slowly to minimize bubbles {CLICK HERE to view preparation/mixing}.


Pour just enough Amazing Clear Cast Resin to fill
the gem portion of the mold. Let cure for 24 hours. 


Brush a little multi colored glitter nail polish
on the back of the resin and let dry a few minutes.


Mix equal amounts of Amazing Casting Resin {CLICK HERE to view mixing/preparation}. Before combining both parts together, I added Alumilite Black dye to Part "A" and stirred completely to combine color. Then combine Part "A" with Part "B". Stir quickly to mix as this Resin sets quickly.

Pour into the mold, filling it up the rest of the way. Let cure 20 minutes.


Remove the finished casting by popping it out of the mold.


Use a fine tipped paint brush to pick up Alumilite Gold Metallic Powder,
and apply to carefully outline the frame.


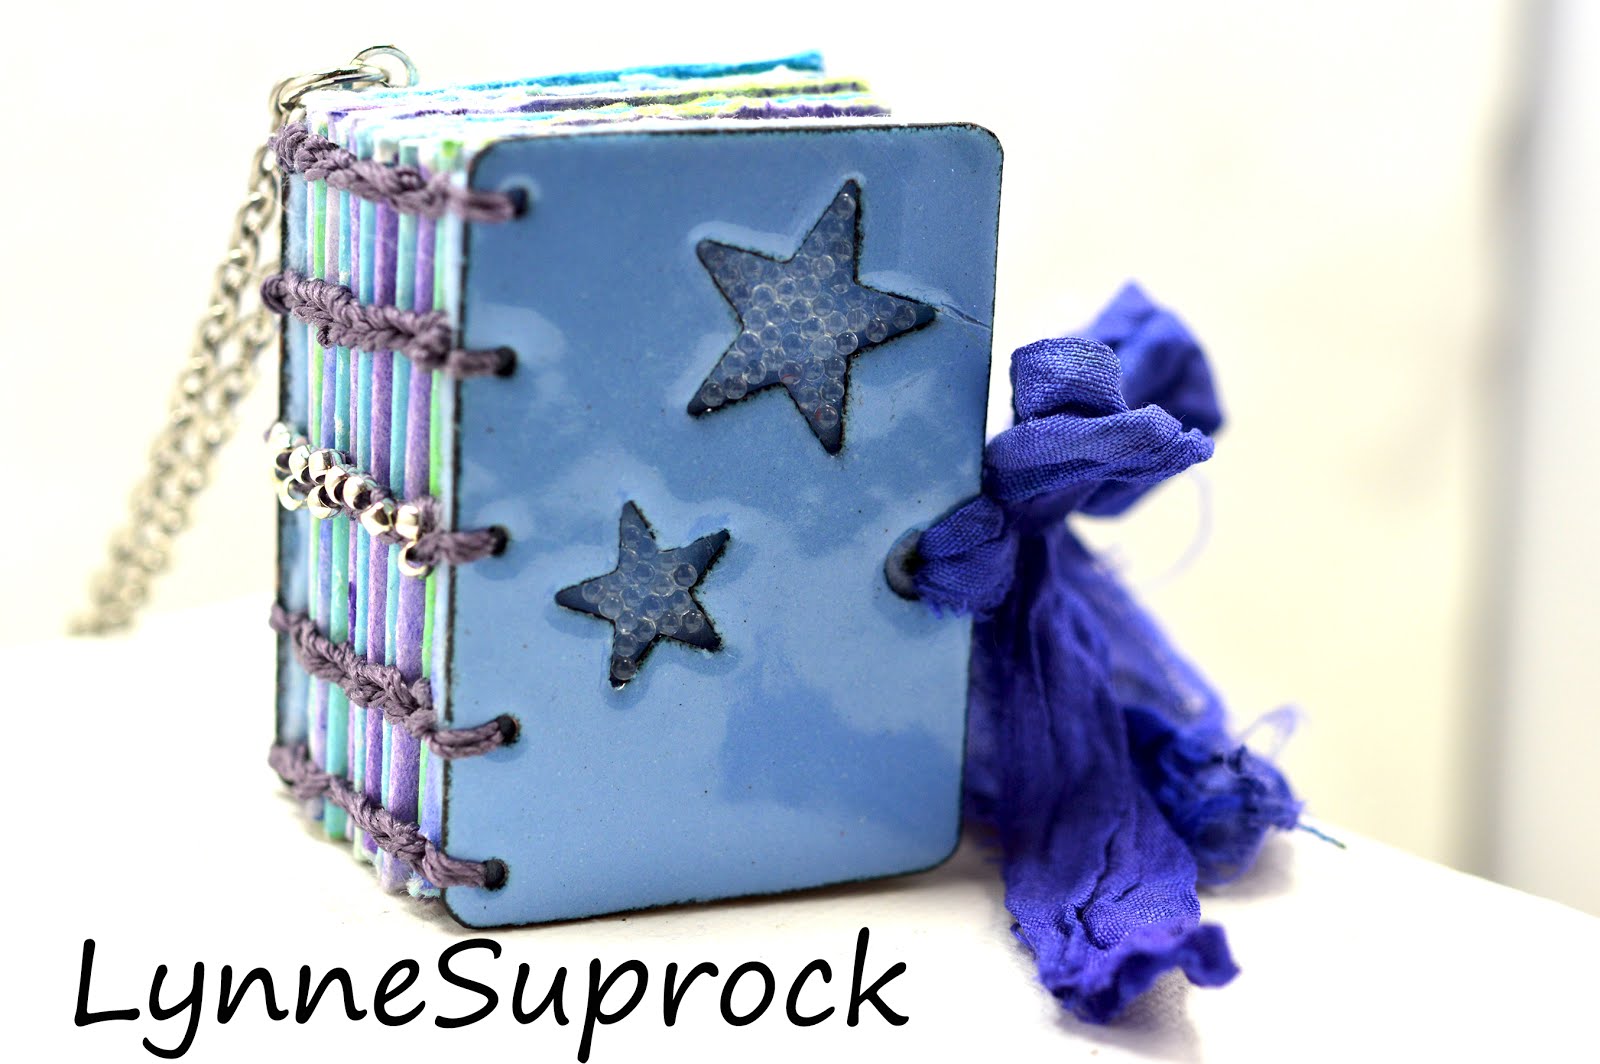
Using a 1/16" drill bit, drill a hole at each end of your newly molded gemstone.


Attach a jump ring in each of the holes.


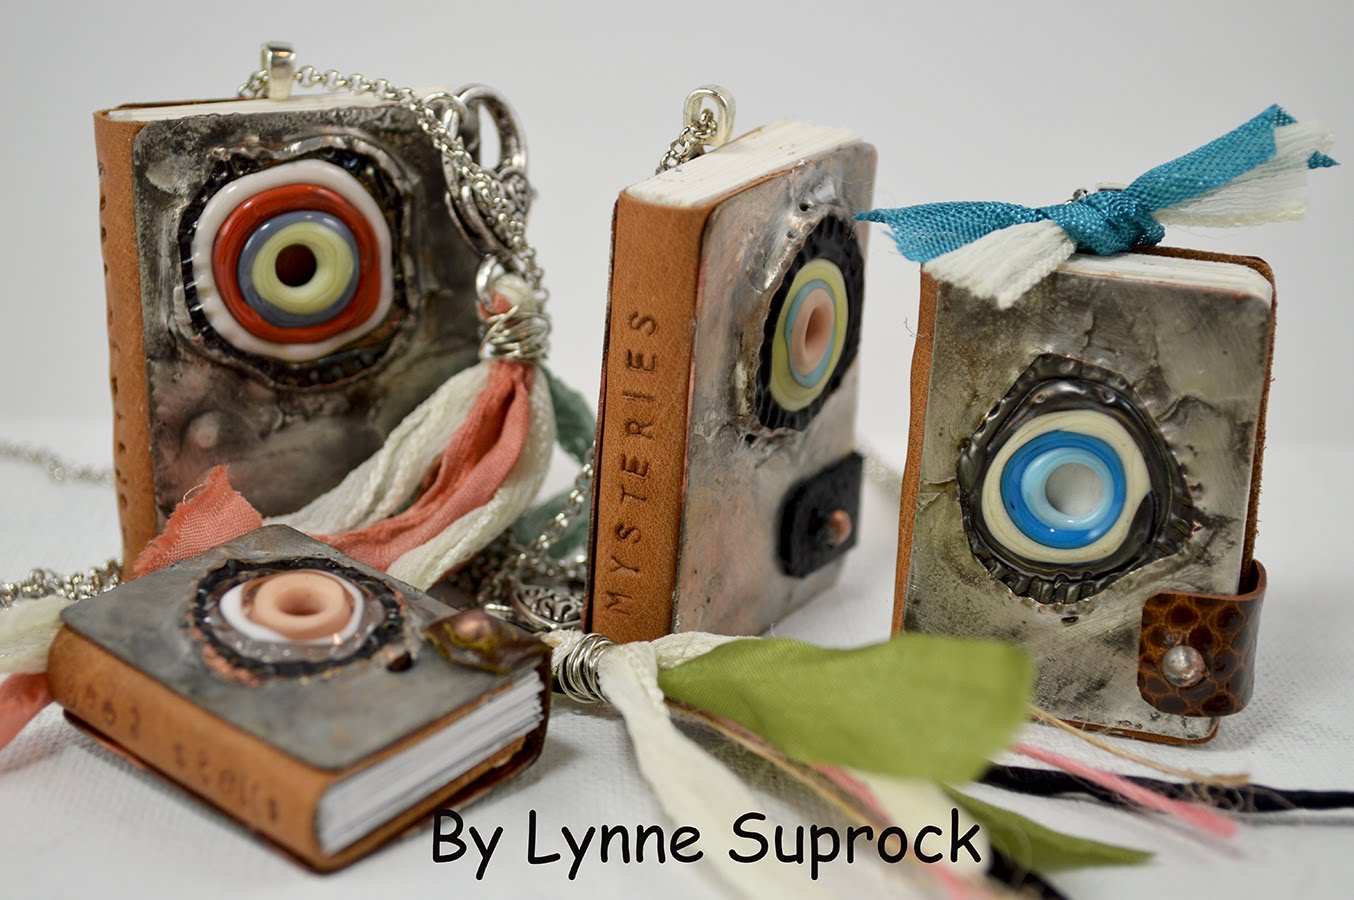
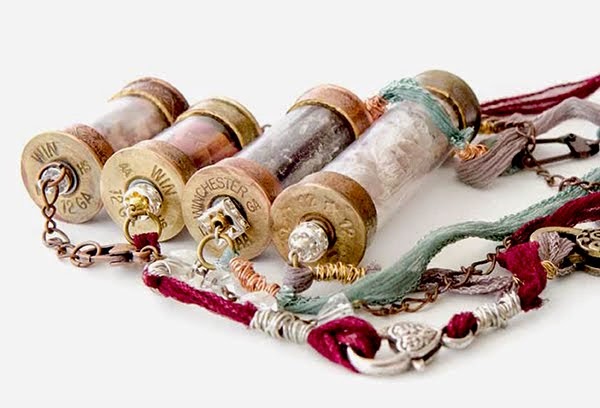
Add a bead or a dangle and a necklace chain. Try making a bracelet with these gems! I used the beautiful blown glass beads, seen below, from Harry and Heather Boardman at HMB Studios.

I can't wait to create a few other precious gems using Amazing Crafting Products, and would love if you would let us know how this technique works for you too! 


Monday, March 30, 2015

Moss Sanctuary For Frozen Charlotte in The Fall Issue Of Jewelry Affaire

Moss Sanctuary For Frozen Charlotte in The Fall Issue Of Jewelry Affaire


I just loved making these little reliquaries for my porcelain dolls.  I even got a little gutsy and made wings for the little Charlottes that were really broken.  Somehow that seemed to make them special.


 These little pieces remind me of another sculpted iconic woman from the novel Midnight In The Garden Of Good And Evil.  A few years ago, I had visited the cemetery where this bird girl stood.  I was enthralled and her vision remains with me, so I guess this is a little tribute to her....


My recollection of her image is in several pieces that I made for this fall issue of 
Jewelry Affaire Magazine.
They are on little necklaces with coordinating slumped glass beads. 

There is even a pouch for each of them for sleeping!  OK, that was worth a giggle....

Friday, March 6, 2015

Making a Plaster Cameo Using Amazing Casting Products

Making a Plaster Cameo Using 


Today I would like to share a fun tutorial using Amazing Mold Putty to create Cameo wall hangings out of Plaster of Paris.  It is my tutorial this month as a member of 2015 The Amazing Casting Products Design Team.

You will need:
  1. An item you would like to mold for a wall hanging.  I selected vintage plaques that I found at a flea market.  
  2. A non stick craft mat
  3. Amazing Mold Putty
  4. Amazing Mold Release Spray
  5. Plaster of Paris
  6. Water
  7. Wooden stir stick
  8. Large container for mixing plaster
  9. 20 gauge wire, 2" per plaque
  10. Round nose pliers to bend wire
  11. Matte gel medium
  12. Paint brush for gel application
My plaques have quite a bit of chipped, peeling paint going on. This will add to the distressed look that I am after when the mold putty conforms to the chipped texture of the pieces.


Amazing Mold Putty comes in Part A and Part B.  Mix equal amounts of each into one ball of uniform color.  Work quickly because the Amazing Mold Putty will begin to set after several minutes.  To keep mold putty from sticking to jewelry or finger nails, you can wear gloves.  However, the Amazing Mold Putty is non toxic.


Next press the Amazing Mold Putty onto the front of the piece that you wish to mold.  Make sure you cover the complete piece.


Let the piece set up, then demold to show the cameo mold.  Lay the piece, mold side up on a flat surface and mix up a little more of the Amazing Mold Putty.  This time ,shape the putty into a long noodle piece to completely surround your item.  Attach the noodle to the existing edge of the Amazing Mold Putty on the front of your plaque.  Let set.


Apply a light coat of Amazing Mold Release to the demolded piece.


Mix the Plaster of Paris with water according to the directions on your box.  Directions may vary by manufacturer.  Stir with a wooden stick.  Work quickly because the plaster will become warm and start to thicken in a few minutes.  Pour the plaster into the mold, filling to the edge of the mold putty. 


Bend the wire with pliers and position into the back of the poured plaster.  Let your project sit over night, and if your mold is thick, two nights in a warm, dry room.  The drying process is hastened if there is air movement over the piece, such as with a fan on low.


If you do not let the piece completely dry, it will break apart when you demold it..... which is just what happened with this one!  Uh oh! Oh no!


This one dried for two days.  Once taken out of the Amazing Mold Putty, coat with acrylic gel medium.  Let dry.  Your piece is ready to hang!


I love the white bisque look of plaster.  However, you could also paint your piece with assorted acrylic paints or add highlights with a metallic paste.  Enjoy experimenting with Amazing Casting Products, such as Amazing Mold Putty in your mixed media projects!